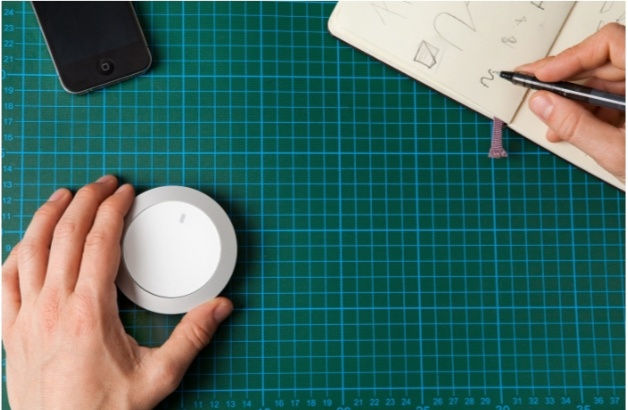
A design for manufacturing (DFM) is the general engineering art of designing products in such a way that they are easy to manufacture and at the right scale, cost and reliability.
The sad truth is that most ideas (including ours) are not designed for manufacturing from the beginning. During the prototyping phase, most people do not take into account the capabilities of industrial machines — thereby making a prototype that is not producible at all or only at high cost.
While you spend a lot of time with your users during the prototyping phase, the DFM phase now requires you to work closely with another important group — suppliers and manufacturers.
1. Define functions of your prototype
As a result of the prototyping phase, you now know what things your device needs to do. As one example with our device, we needed Nuimo to communicate wirelessly and have a ring on the outside that you can turn to adjust volume.
2.Transition of Tools
The number one goal of the prototyping phase was to move through iterations of your device, build and user test as quickly as possible — now the goals have changed.
While fast prototyping tools like Arduino and 3D printing are great in terms of speed, they are not appropriate at scale.

3. Set requirements-
Now that your functions are finalized, you can go forward and set technical requirements.
For the sensor to measure the rotation of our ring we had the technical requirements of:
Voltage (optimally something that works on the same voltage as the micro-controller)
Accuracy of sensor (we needed high precision of >1000 measurement points per rotation based on our use cases)
Energy usage (our device is mobile so it needs to use minimal battery; this also one of the main requirements for things like your wireless technology)
Price (based on your target retail price you need to hit a certain cost of materials. This gives you a budget for things like sensors or mechanics)
Dimensions (Our device is packed with technology, we needed a sensor that would fit inside)
4. Research Technologies- Suppliers, Manufacturers
With your functions and requirements loaded, the grand search for solutions start.
Technologie,So how do you find out what technologies are available to you? This one is really tough. The best thing is if you (or someone on your team) already have the knowledge and experience. Otherwise, a lot of googling is involved. If you can afford it, it’s really worth to get a consultant with experience on board for some time.
5. Try Out Samples and Decide for Technology
Reading through data sheets and doing theoretical are assumptions are great — but you won’t really know what works until you try.
Lots of the manufacturers and suppliers are startup-friendly and give you samples for free. Most of the large microchip manufacturers will also send you a free development board if you ask nicely (and the right people).
6. Dig Deep into Specific Parts, Suppliers and Manufacturers
At this point you will have a pretty good idea on what technology fits your requirements.
In our case, laser sensing was super precise but expensive and consumed too much energy. Hall effect was also interesting but would need a lot of time to perfect because of interferences. We selected infrared technology which gave us high precision, low cost, high reliability, small form factor and low energy consumption.

7. Choose your Components, Suppliers, Manufacturers
Now that you have decided for your technology, have found the part you need and have found a small number of suppliers and manufacturers- it’s decision time. Choose things that make sense but also give you a good feeling. There will be many problems over the next few weeks and months so it’s important to work with someone you can talk with honestly and have a good feeling about from the beginning.
Involve your manufacturer and suppliers and tell them about your product and vision. See them as investors and invest into your dreams when they work with you.

8. Pre-series-
Finally, it’s time for the first batch of devices. The goal is to get a first idea of what the supply chain looks like and how manufacturing looks like. In our case these are 100 devices that go out to our developers.

At this scale you don't have to use your final injection mould just yet (which will cost you >10K USD). We used vacuum technology which is roughly 20% of the cost of what injection moulding, in our case ~2000$.


